Share
Henri Matisse inspired Paper Cut-outs was such a great lesson. What fun it was to cut, paste, and create using colored construction paper.
Henri Matisse (1869 – 1954), was considered to be the 20th century’s most important French painter. He communicated art with expressive colors and compelling bold patterns. Influenced by Impressionism and Japanese art, Matisse made color a crucial element of his work, and also experimented with abstract art. Following illness Matisse explored with cut-outs for 14 years. Here is a fantastic link with detailed information on his cut-outs and images of his work.
http://www.henri-matisse.net/cut_outs.html
After discussing some of Matisse's work, we took a look at some of his paper cut-outs. One of the books that I referenced was
You can purchase it here or go to your local library to find it. You can also refer to the above link and find all of the info you need there.
Below are some of images of the work in progress and one of my students final project!
Share
Showing posts with label Paper crafts. Show all posts
Saturday, March 5, 2011
Monday, February 28, 2011
Kids Winter ART classes were a blast!
Share
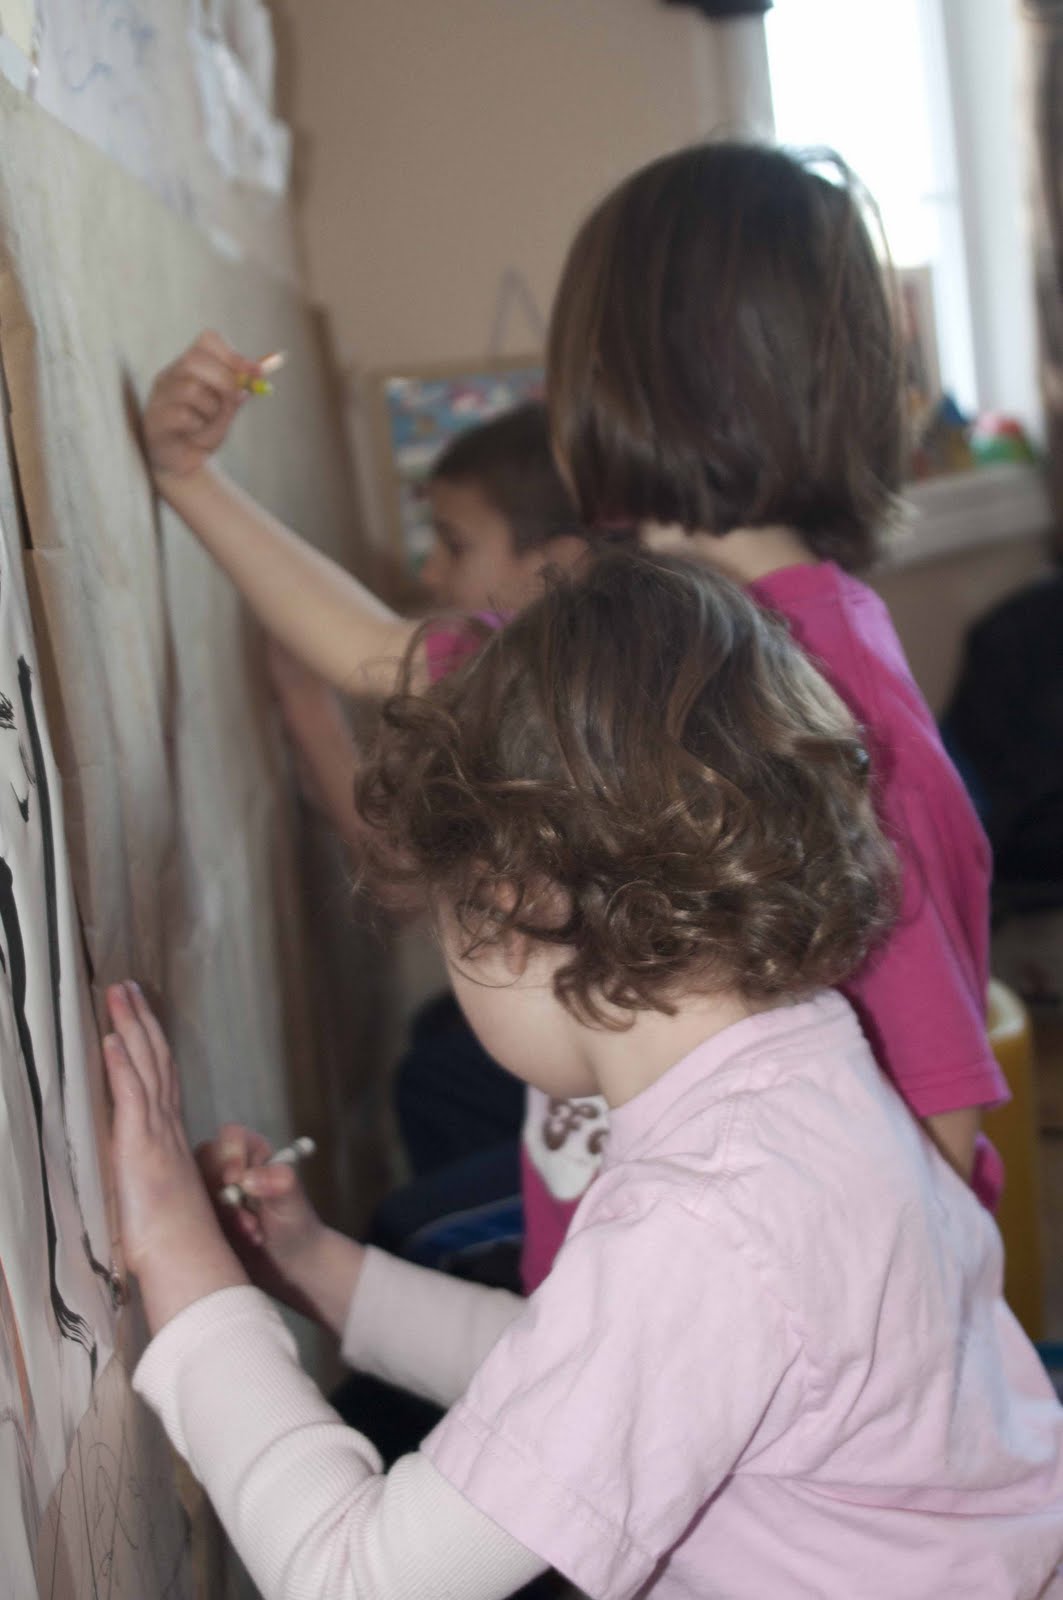
Wow, what a week!!! Wall art, City Murals, Finger painting, Acrylics, Origami, Spray painting... the list goes on. It was a fantastic week here at Start at ART. I loved seeing new faces and reuniting with existing. I am overwhelmed with such wonderful art students and their ability to learn and bring in their own artistic dreams to our art environment. They seemed to enjoy the opportunity to explore and create with fellow friends. So exhilarating for me! I love ART!
Some images to share from the week:
Below is a picture of the kids assemblage work. I had them pick from a ton of materials, buttons, odd and ends and had them create a work of art with it.
Wow, what a week!!! Wall art, City Murals, Finger painting, Acrylics, Origami, Spray painting... the list goes on. It was a fantastic week here at Start at ART. I loved seeing new faces and reuniting with existing. I am overwhelmed with such wonderful art students and their ability to learn and bring in their own artistic dreams to our art environment. They seemed to enjoy the opportunity to explore and create with fellow friends. So exhilarating for me! I love ART!
Some images to share from the week:
Images from the finger painting wall mural. We also did some acrylic brush work on this piece.
Our City Mural. Each child contributed a part of the city mural. We had clouds, birds, trees, firehouses, police stations and a school. This was so fun. They just let their imagination go!!
Can you tell which one is my son? LOL
Intense stuff here. :)
We did a little abstract painting.
Below is a picture of the kids assemblage work. I had them pick from a ton of materials, buttons, odd and ends and had them create a work of art with it.
Finally comes the Origami. This was so much fun for them. Thanks to my assistant, Cedee for the help with running this! They loved her.
Friday, June 25, 2010
Fathers Day Card idea
Share
So I know Fathers Day has come and gone. My husband enjoyed his handmade card from the kids so much that I decided to post it and give you an idea for next year. I guess the saying goes better late than never?? Or is that my middle name? Lol!
We found this idea on a site and tweaked it a bit to simplify it for the little ones.
1. Begin with your saw drawing. Email me if you would like a template but it should be fairly simple to draw.
4. Cut a piece of Aluminum foil to glue onto the saw part, add your glue


5. Place your foil on, turn your saw over to cut the excess foil evenly along the jagged edge
Add your Happy Fathers Day, decorate, and on the foil part add "You are the best DAD I ever SAW" and you're done!!
As I always say, most of all Have FUN!!
Share
So I know Fathers Day has come and gone. My husband enjoyed his handmade card from the kids so much that I decided to post it and give you an idea for next year. I guess the saying goes better late than never?? Or is that my middle name? Lol!
We found this idea on a site and tweaked it a bit to simplify it for the little ones.
1. Begin with your saw drawing. Email me if you would like a template but it should be fairly simple to draw.
2. Cut it out
4. Cut a piece of Aluminum foil to glue onto the saw part, add your glue
5. Place your foil on, turn your saw over to cut the excess foil evenly along the jagged edge
Add your Happy Fathers Day, decorate, and on the foil part add "You are the best DAD I ever SAW" and you're done!!
As I always say, most of all Have FUN!!
Share
Subscribe to:
Posts (Atom)